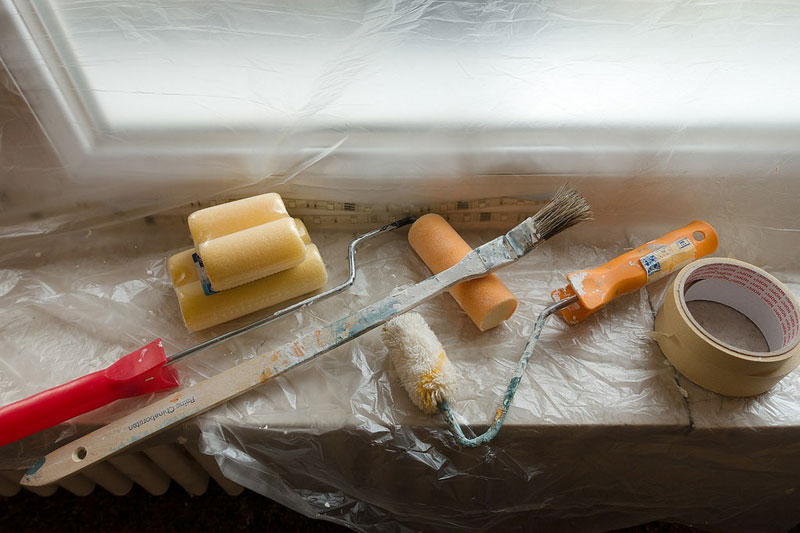
How to prepare a room for painting

Ready to paint? Before you get started, you’ll need to learn how to prepare a room for painting. After all, if you fail to prepare, prepare to fail!
The steps outlined below are a great starting place. Of course, only engage in the preparation activities relevant to the size and condition of your walls. Once done, you’re ready to crack open the paint tin and get started.
What you’ll need to prepare a room for painting
Here’s a quick list of materials that you need to get your interior space primed and ready for paint:
- Drop cloths – this may be a tarp or some old sheets
- Old clothes and shoes
- Bucket of warm, soapy water
- Cloths and sponges
- Scraper
- Sandpaper
- Pre-mixed wall filler
- Filling blades
- Painter’s tape
How to prepare a room for painting
1. Let’s walk through the step-by-step process of preparing a room for painting.
2. Remove all fixtures from the walls. This includes pictures and picture hooks and light switch covers.
3. Remove as many as your belongings and furniture as you can from the room. There is no better way to protect your décor that removing from the scene entirely. Plus, the less stuff you have cluttering the space, the easier it will be to reach tricky corners.
Pro tip: If you were unable to remove some bulkier furniture from the room, move it into the centre. This will keep it out of the danger zone while giving you better access to the walls.
4. Place drop cloths on the floor and any remaining furniture.
Pro tip: If you have carpet, opt for plastic drop cloths if possible. Plastic drop cloths provide a waterproof seal, protecting your carpet more effectively than cotton and canvas.
5. Wash your walls with the warm, soapy water and a sponge or cloth to remove dust and dirt. Be sure to wipe down the washed walls with clean water to remove traces of soap before allowing them to dry completely.
6. Check the walls for any signs of mould. If there is mould present, use a diluted bleach solution or your preferred method to remove it. Rinse again and allow the walls to dry before continuing.
7. Inspect the walls for damage, lumps, bumps, and flaking paint.
8. If the existing paint is peeling or flaking, scrape the area to detach loose paint. Then, gently sand the surface to create a smooth, seamless finish.
9. Using a filler blade, fill any nail holes and small dents with pre-mixed wall filler.
Pro tip: If your wall is damaged in a high-movement area, such as near windows and doors, opt for an acrylic gap sealant for longer-lasting results.
10. Allow all sealants to set as per the manufacturer’s instructions. Then, sand down sealed areas.
Pro tip: For professional results, we suggest using a specially-formulated sealant primer on any areas you have sealed.
11. Apply painter’s tape to fitting that cannot be removed and surface edges, such as skirting boards and shelving.
12. Open up your windows to ensure proper ventilation. You are now ready to paint!
Leave it to the pros
Skip the headache and leave the hard work to us. We know exactly how to prepare a room for painting to ensure flawless results. Give us a call on 07 3829 5735 or fill out the form on this page for a fast and accurate quote.
Image credit: homethods.com
