Do I have to sand walls before painting?

Preparation is critical to achieving smooth, even, long-lasting paintwork. But do you have to sand walls before painting? And if so, what’s the process? In this blog, Kraudelt Painting, your trusted Brisbane painting experts, will break down when sanding walls before painting is essential and offer alternative prep methods to achieve stunning results.
Should I sand walls before painting?
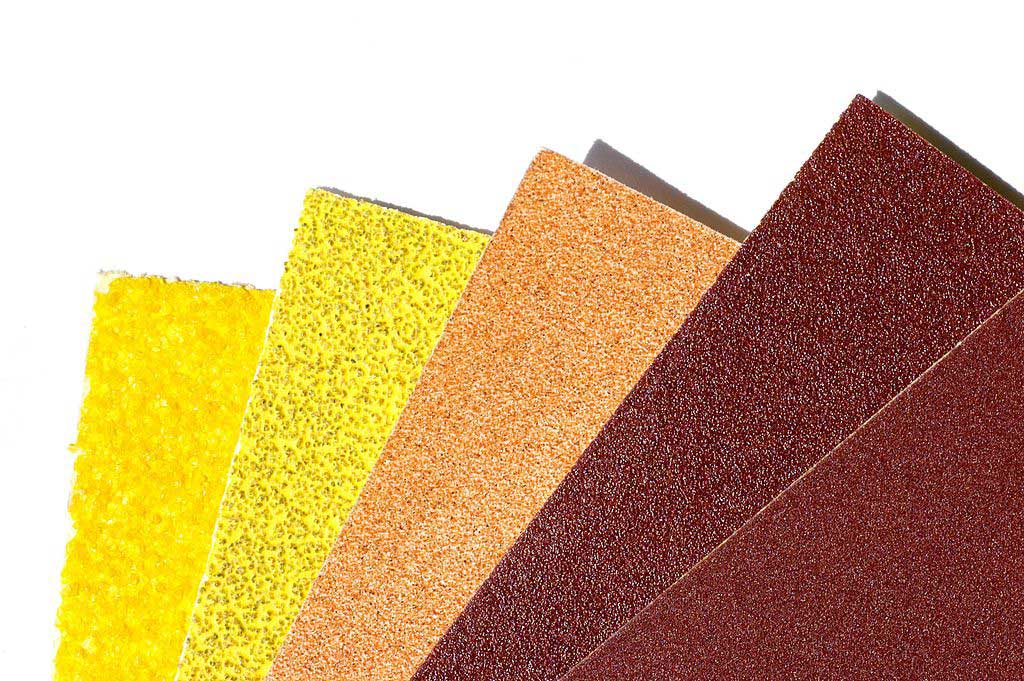
The answer to this question depends. Sanding is not necessary for every painting project. But if your walls have rough spots – whether or not they’ve been painted before – you will need to sand them down. Use sandpaper to smooth out any uneven surface. Then, wipe away dust and debris with a damp cloth and allow it to dry.
You should also sand walls before painting if your surface was previously covered with a gloss or high-gloss paint. Use a fine-grit sandpaper for water-based paint, and a medium-grit sandpaper (around 100- to 150-grit) for oil-based paint. Again, you’ll want to remove dust and allow the surface to dry thoroughly.
Cracking, blistering, and flaking paint can also be an issue. Painting over damaged paintwork is never a good idea – it’s essential to remove flakes with a scraper or sandpaper before you begin.
Three essential surface preparation steps

While sanding might not be essential for every painting project, the following three surface preparation steps are.
1. Clean your walls
Clean walls are key to achieving perfect results, and here’s why:
- If your walls are covered in dirt or dust, paint will not be able to adhere properly. This may result in an uneven, bumpy surface and flaking and blistering further down the track.
- If your walls are scuffed and marked, these stains could show through your fresh paint – especially if you are using a white or light neutral shade.
Typically, warm water, detergent, and a sponge is enough to remove dust, dirt, and minor marks. Sugar soap is another popular choice. Just be sure to give your walls ample time to dry before you start painting.
2. Address water damage
Never paint over mildew, mould, or water damage, as these issues will fast show through your new paint. Find and repair the source of any water damage before painting. Then, remove mildew using a solution of four-parts of water to one-part of bleach applied with a sponge or brush.
If your mould problem is significant, it’s best to call in a professional. These nasty spores can damage your health if not handled correctly.
3. Prime your walls
Primer ensures you get the most out of your paint, particularly if your walls are porous, already painted a dark colour, or have stubborn stains. Primers disguise imperfections, resulting in a smooth, adhesive, white surface for your paint to stick to. The result is paint that is even and true-to-colour.
Residential and Commercial Painters in Brisbane
If you want to do it properly, painting is hard work. If you want to leave it up to the pros, get in touch. Our friendly, experienced team would be more than happy to supply a fast, accurate quote, so you can decide whether or not going the DIY route will be worth it. Call on 07 3829 5735 or get a quote.
